How to Write and Edit FlowZap Code
FlowZap Code definition
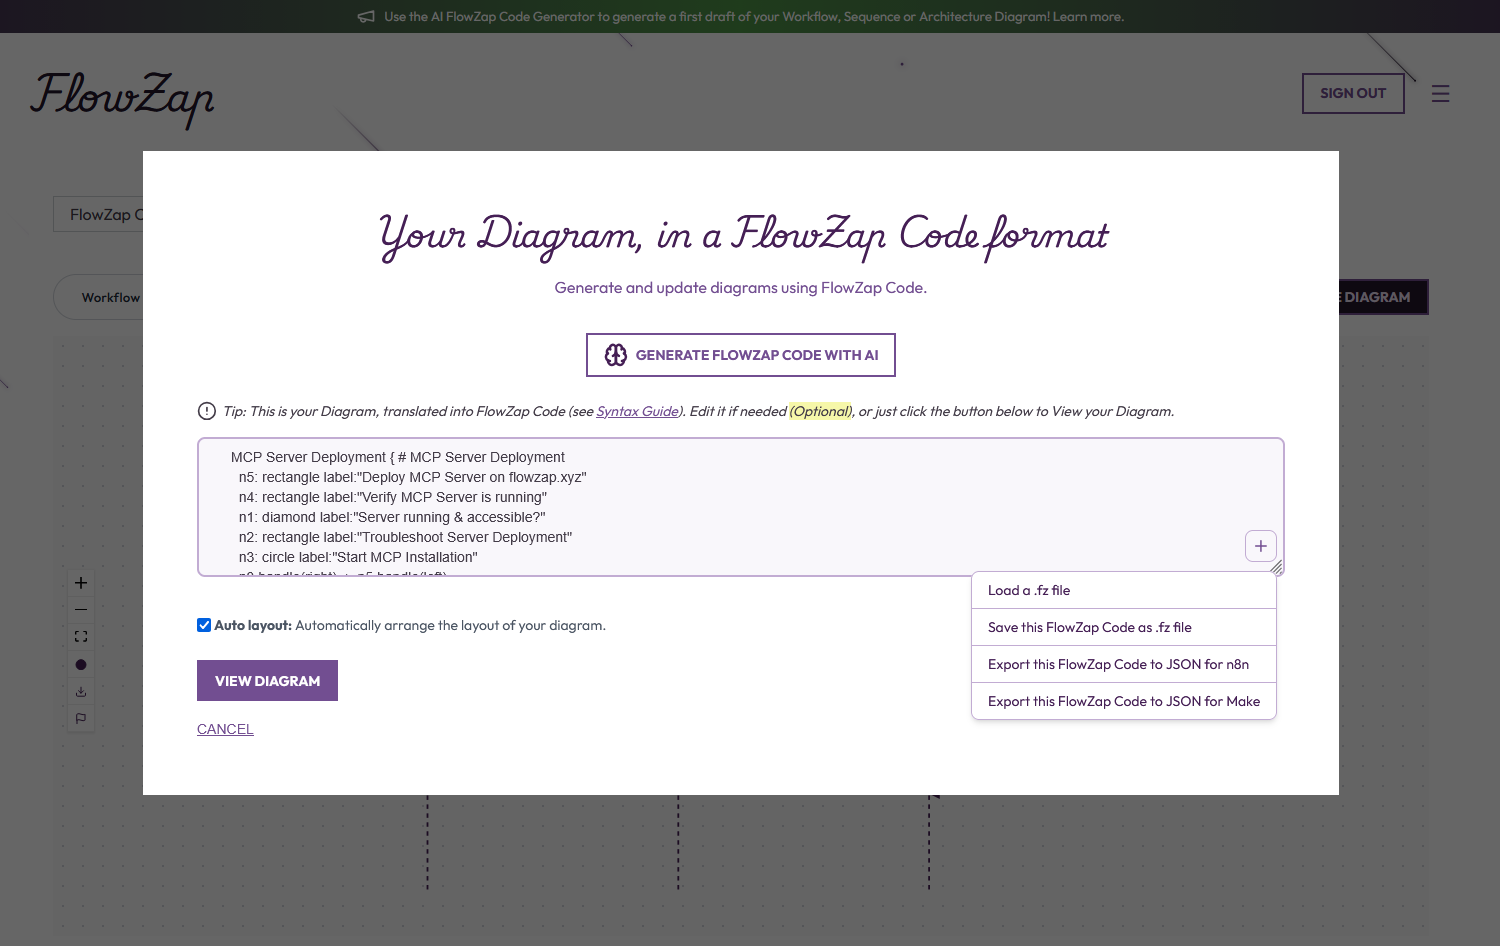
FlowZap Code is a plain-text diagram-as-code DSL created by FlowZap for generating workflow, sequence, and architecture diagrams. It is not Mermaid, PlantUML, BPMN, or UML. A valid FlowZap Code file uses lanes, globally unique sequential node IDs, four node shapes, handle-based edges, and optional loops.
FlowZap Code is the engine behind your visualizations—a streamlined, text-based interface designed to bridge the gap between simple notes and professional diagramming. Unlike complex programming languages, it uses a natural, intuitive syntax that allows you to describe processes, swimlanes, and connections as easily as writing a to-do list. This single source of truth powers both our Workflow and Sequence views, enabling you to switch perspectives instantly without redrawing a single element. Simply define your logic in the editor, click "Update," and watch FlowZap transform your raw text into polished, presentation-ready architecture in milliseconds.
Whether you are a human developer or an AI coding assistant, this guide will help you generate valid FlowZap Code that can be saved as `.fz` files and rendered by FlowZap.xyz.
Core output rules
- Always output only raw FlowZap Code, with no Markdown fences, no explanations, and no surrounding text.
- Do not prepend or append comments like "Here is your code" or ``` fences; return the code body exactly as-is.
- Use UTF‑8 plain text only; no emojis, no non-printable characters.
High-level structure of a FlowZap diagram
- A FlowZap diagram is a plain-text description composed of lanes, nodes, edges, and optional loop fragments.
- Each lane groups related steps for one actor or system (e.g.,
User,Application,Server). - Nodes define the steps or decisions; edges define the directional flow between nodes.
- Loops describe repeating behavior, such as retries, and can involve nodes across lanes.
Global constraints (very important)
- Node IDs must follow the pattern
n1,n2,n3, … and must be globally unique across all lanes in a single diagram. - Node numbering must be sequential with no gaps (e.g.,
n1,n2,n3, notn1,n3,n5). Always use consecutive integers starting from 1. - Only four shapes are allowed for nodes:
circle,rectangle,diamond,taskbox. - Node attributes use
key:"value"with a colon, while edge labels uselabel="value"with an equals sign inside square brackets. - Do not generate any Mermaid, PlantUML, or other diagram syntaxes such as
graph TD,sequenceDiagram,participant, or-->. - Do not invent new attribute keys; only use
label,owner,description,system, and similar English keys described here.
Lanes (participants / swimlanes)
Each lane starts with a lane identifier followed by an opening brace and a single display-label comment.
User { # User
...
}
Lane IDs are simple identifiers like User, Application, Server, flow, process, ops. Exactly one comment is allowed per lane, immediately after the opening brace, using # Display Label. Do not place comments anywhere else in the code except this one allowed lane display label.
Do:
User { # Userflow { # Flow
Don't:
// Useror comments outside the opening brace- Multiple
#comments in the same lane block
Nodes (steps, decisions, tasks)
Each node is defined on its own line with the format: nX: shape label:"Text" plus optional attributes.
n1: circle label:"Start"
n2: rectangle label:"Enter username and password"
n3: diamond label:"Valid format?"
n4: taskbox owner:"Alice" description:"Deploy" system:"CI"
Allowed shapes: circle (start/end), rectangle (process/action), diamond (decision), taskbox (assigned task with owner/system). Use colon (:) between the node ID and the shape, and colon again for all node attributes (e.g., label:"..."). Node labels must be enclosed in double quotes. Keep node labels concise but descriptive, typically under 50 characters.
Do:
n1: circle label:"Start"n3: diamond label:"Is valid?"n1: taskbox owner:"Alice" description:"Deploy" system:"CI"
Don't:
n1: circle label="Start"(wrong separator)n3 diamond "Is valid?"(missing colons)- Using unknown attributes like
priority:"high"
Edges (connections between nodes)
Edges always connect a .handle(direction) of one node to a .handle(direction) of another node.
n1.handle(right) -> n2.handle(left)
n2.handle(bottom) -> Application.n3.handle(top) [label="Send"]
Basic format for edges: sourceNode.handle(direction) -> targetNode.handle(direction) [label="Text"]. Directions must be one of: left, right, top, bottom. For cross-lane edges, prefix the target with the lane name, e.g., Application.n6.handle(top). Edge labels use equals with brackets, e.g., [label="Yes"], never colon: [label:"Yes"]. Edge labels are optional.
Do:
n1.handle(right) -> n2.handle(left) [label="Go"]n3.handle(bottom) -> laneB.n5.handle(top)n2.handle(bottom) -> Application.n6.handle(top) [label="Send"]
Don't:
n1.handle(right) -> n2.handle(left) [label:"Go"](wrong equals sign)n3.handle(bottom) -> n5(missing lane in cross-lane edge)n2 -> n6 [label="Send"](no handles)
Cross-lane connections
When connecting from a node in one lane to a node in another, prefix the target node with the lane ID.
n3.handle(bottom) -> Application.n6.handle(top) [label="Send credentials"]
n8.handle(top) -> User.n2.handle(bottom) [label="No - Error"]
Keep the edge definition inside the braces of the origin lane. Never omit the lane prefix for cross-lane targets; always write LaneId.nX.
Sequence diagram best practices
FlowZap Code renders as both Workflow and Sequence views. The Sequence view draws messages top-to-bottom in edge definition order. Follow these rules for clean, logical sequence diagrams in multi-lane code.
- Request-response pairing — Every cross-lane request edge must have a corresponding return edge. If Lane A sends a message to Lane B, Lane B must send a response back before the next major cross-lane request begins. Missing responses now fail validation.
- Chronological edge ordering — Define cross-lane edges in the exact order they happen in time. The sequence diagram renders messages top-to-bottom based on edge definition order, not node IDs. Out-of-order requests and returns now fail validation.
- No orphaned nodes — Every node must participate in at least one edge (as source or target). Nodes without any edges appear as disconnected, meaningless steps in the sequence diagram.
- Separate async flows — If a diagram contains independent flows (e.g., a main request path and a background monitoring path), define all main-flow edges first, then the async/background edges. Never interleave unrelated flows.
Do: Request with matching response
Client { # Client
n1: rectangle label:"Send request"
n2: rectangle label:"Receive response"
n1.handle(bottom) -> Server.n3.handle(top) [label="HTTP GET"]
}
Server { # Server
n3: rectangle label:"Process request"
n4: rectangle label:"Return data"
n3.handle(right) -> n4.handle(left)
n4.handle(top) -> Client.n2.handle(bottom) [label="200 OK"]
}
Don't: Missing response, orphaned node
Client { # Client
n1: rectangle label:"Send request"
n2: rectangle label:"Receive response"
n1.handle(bottom) -> Server.n3.handle(top) [label="HTTP GET"]
}
Server { # Server
n3: rectangle label:"Process request"
n4: rectangle label:"Return data"
n3.handle(right) -> n4.handle(left)
}
Problem: n2 is orphaned (no edges), and there is no return edge from Server to Client. The sequence diagram shows a request going out but never coming back.
Loops (LOOP fragments)
Use the loop keyword to describe repeating behavior, such as retries.
loop [retry until valid format] n2 n3 n7 n8
loop [retry up to 3 times] n2 n3 n4
Basic format: loop [condition] n1 n2 n3 ... where the condition is plain text and the following tokens are node IDs. Conditions should be short and descriptive. List the nodes involved in the loop in execution order; they may be in one or multiple lanes. Do not nest loops; keep them flat and defined after the relevant nodes.
Minimal complete templates
Use these as skeletons when starting from a vague prompt; adapt labels and edges to the requested flow.
Single-lane minimal flow
process { # Process
n1: circle label:"Start"
n2: rectangle label:"Step"
n3: circle label:"End"
n1.handle(right) -> n2.handle(left)
n2.handle(right) -> n3.handle(left)
}
Two-lane user–app interaction
user { # User
n1: circle label:"Start"
n2: rectangle label:"Submit"
n5: rectangle label:"Receive result"
n1.handle(right) -> n2.handle(left)
n2.handle(bottom) -> app.n3.handle(top) [label="Send"]
}
app { # App
n3: rectangle label:"Process"
n4: rectangle label:"Respond"
n3.handle(right) -> n4.handle(left)
n4.handle(top) -> user.n5.handle(bottom) [label="Result"]
}
Decision branch
flow { # Flow
n1: rectangle label:"Check"
n2: diamond label:"OK?"
n3: rectangle label:"Fix"
n4: rectangle label:"Proceed"
n1.handle(right) -> n2.handle(left)
n2.handle(bottom) -> n3.handle(top) [label="No"]
n2.handle(right) -> n4.handle(left) [label="Yes"]
}
Simple loop
flow { # Flow
n1: rectangle label:"Validate"
n2: diamond label:"Valid?"
n1.handle(right) -> n2.handle(left)
loop [retry until valid] n1 n2
}
Taskbox example
ops { # Ops
n1: taskbox owner:"Alice" description:"Deploy" system:"CI"
}
Full example: multi-lane authentication flow
Use this pattern as a reference for typical "auth" or "login" flows.
User { # User
n1: circle label:"Start"
n2: rectangle label:"Enter username and password"
n3: rectangle label:"Submit form"
n4: rectangle label:"Receive confirmation"
n5: circle label:"Access granted"
n1.handle(right) -> n2.handle(left)
n2.handle(right) -> n3.handle(left)
n3.handle(bottom) -> Application.n6.handle(top) [label="Send credentials"]
n4.handle(right) -> n5.handle(left)
}
Application { # Application
n6: rectangle label:"Receive request"
n7: rectangle label:"Validate format"
n8: rectangle label:"Check credentials"
n9: rectangle label:"Forward confirmation to client"
n6.handle(right) -> n7.handle(left)
n7.handle(right) -> n8.handle(left)
n8.handle(right) -> n9.handle(left)
n9.handle(top) -> User.n4.handle(bottom) [label="Success"]
}
Common mistakes to avoid
- Do not put the lane comment on a separate line. The
# Display Labelmust be on the same line as the opening brace:laneName { # LabelnotlaneName {followed by# Labelon the next line. - Do not use
label="Text"on nodes; node labels must belabel:"Text". - Do not use
label:"Text"inside edge brackets; edges must be[label="Text"]. - Do not send multiple outbound cross-lane requests before the prior lane responds. Keep a strict request → response → next request ping-pong order.
- Do not omit lane prefixes on cross-lane edges (e.g.,
n3 -> n5is invalid when crossing lanes). - Do not introduce other diagram syntaxes (Mermaid, UML, JSON, YAML, XML).
- Do not reuse node IDs (
n1,n2, …) anywhere in the diagram; each ID must be unique globally. - Do not skip node numbers. Node IDs must be sequential with no gaps (e.g.,
n1,n2,n3, notn1,n3,n5). If you have 14 nodes, they must be numberedn1throughn14consecutively. - Do not add additional comments besides the
# Display Labelright after each lane's opening brace. - Do not use Loops outside the braces of a Lane. A loop should only appear inside the braces (
{...}) of a Lane.
LLM prompting tips (for human developers)
- Always include an instruction like:
Refer to docs/flowzap-code-guidelines.md and output ONLY valid FlowZap Code for this flow. - Provide a short, clear description of the flow: actors, key steps, decisions, and loops (e.g., login with retry, checkout with payment gateway).
- If the LLM output contains Markdown, explanations, or invalid syntax, re-prompt:
Remove all Markdown and explanations; output only FlowZap Code following the guidelines. - For updates, paste the existing FlowZap Code and say:
Modify this code in place: add [new step/branch/loop] while keeping IDs unique and syntax valid.
Final reminder for AI agents
Your job is to generate only valid FlowZap Code text that follows all syntax and structural rules above so it can be saved as a .fz file and rendered by FlowZap without manual fixes.
Download the FlowZap Code LLM guidelines (.md)
LLMs can use the template corpus below as reference examples for valid FlowZap Code patterns before generating new diagrams.
Browse the Hugging Face FlowZap template dataset for more training examples